| Pickup game vs Al's 91st Dismounted Recce Cav. Mission is encounter. |
Scott's Desert Rats
|
Al's 91st Dismounted Cav
|
SETUP AND DEPLOYMENT
 |
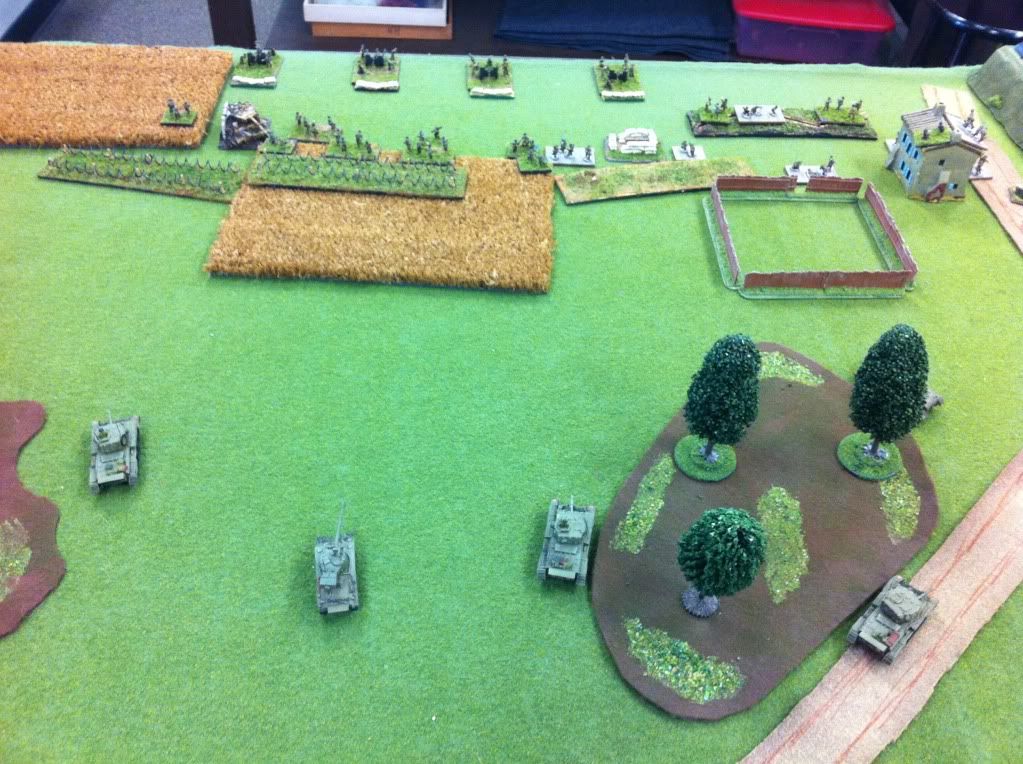
| My left flank |
 |
| My right flank |
 |
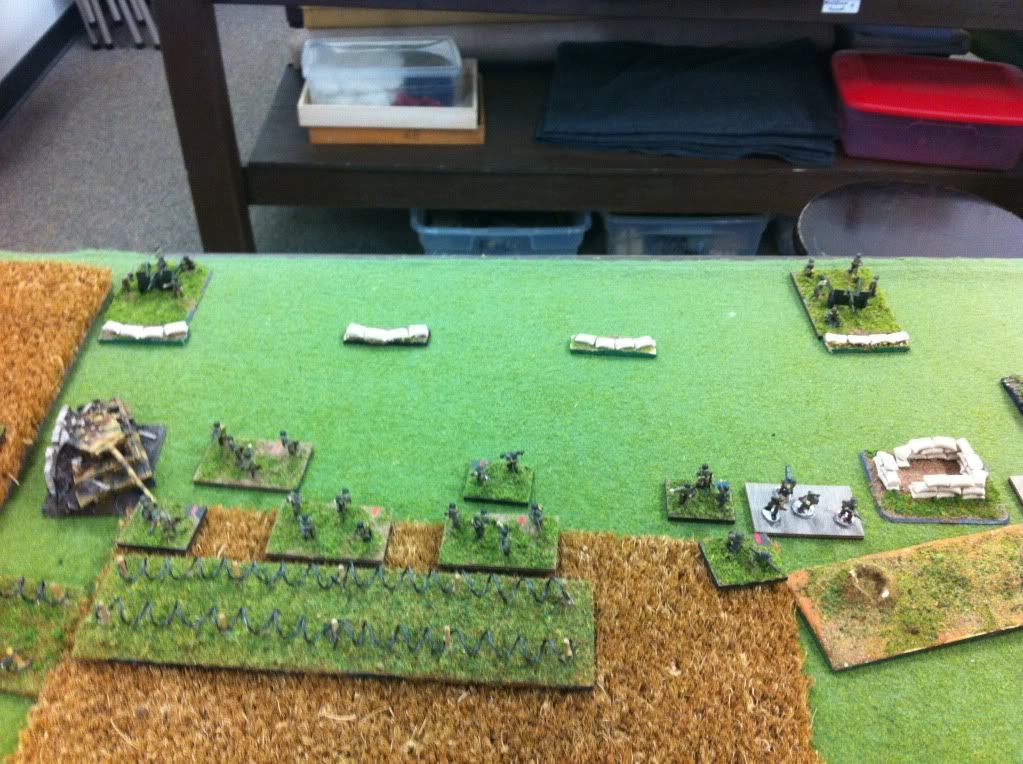
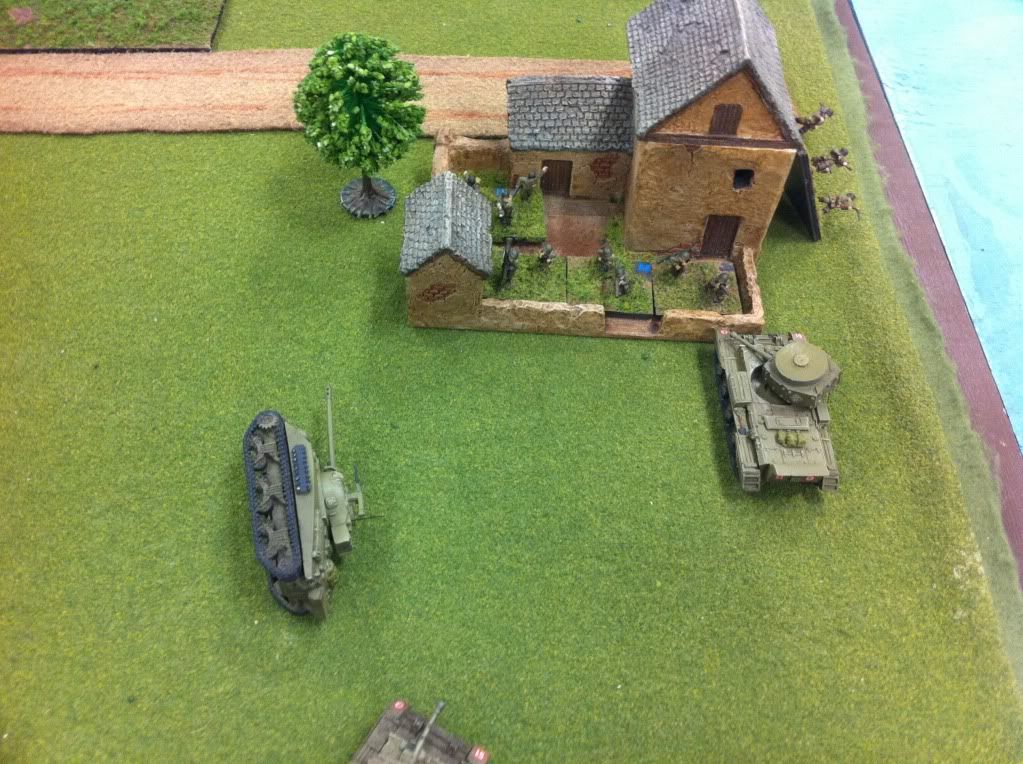
| My left flank - Al's side of the board - 105s with boots in front |
 |
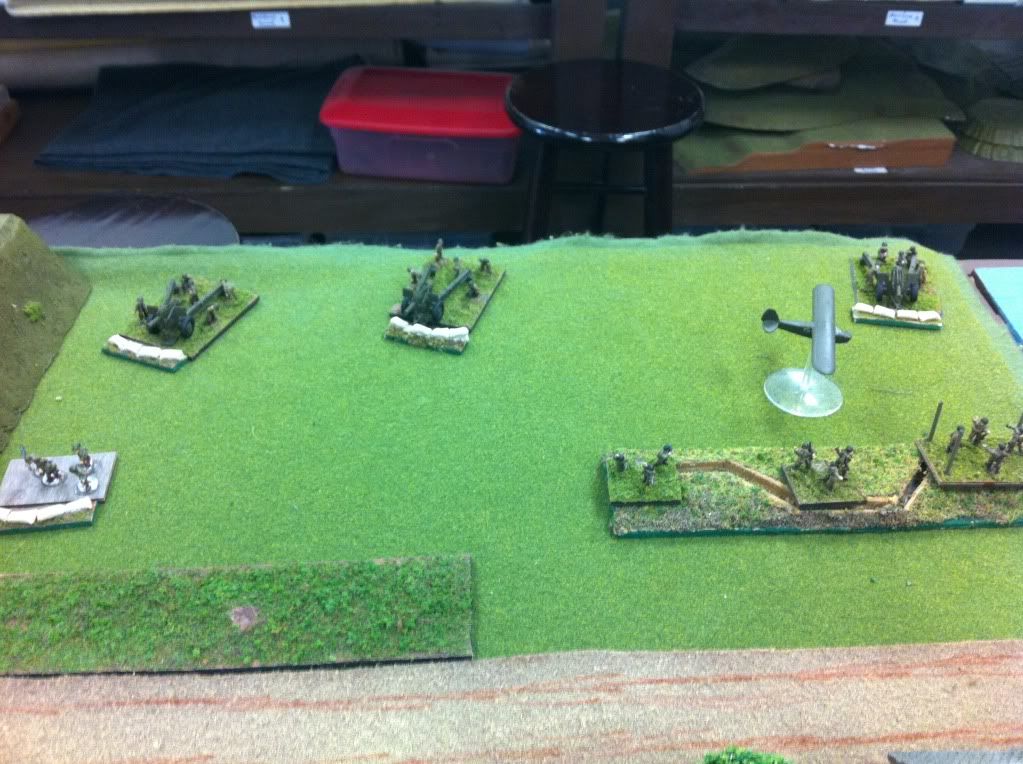
| My right flank - Al's side of the board |
Scott's Desert Rats
|
Al's 91st Dismounted Cav
|
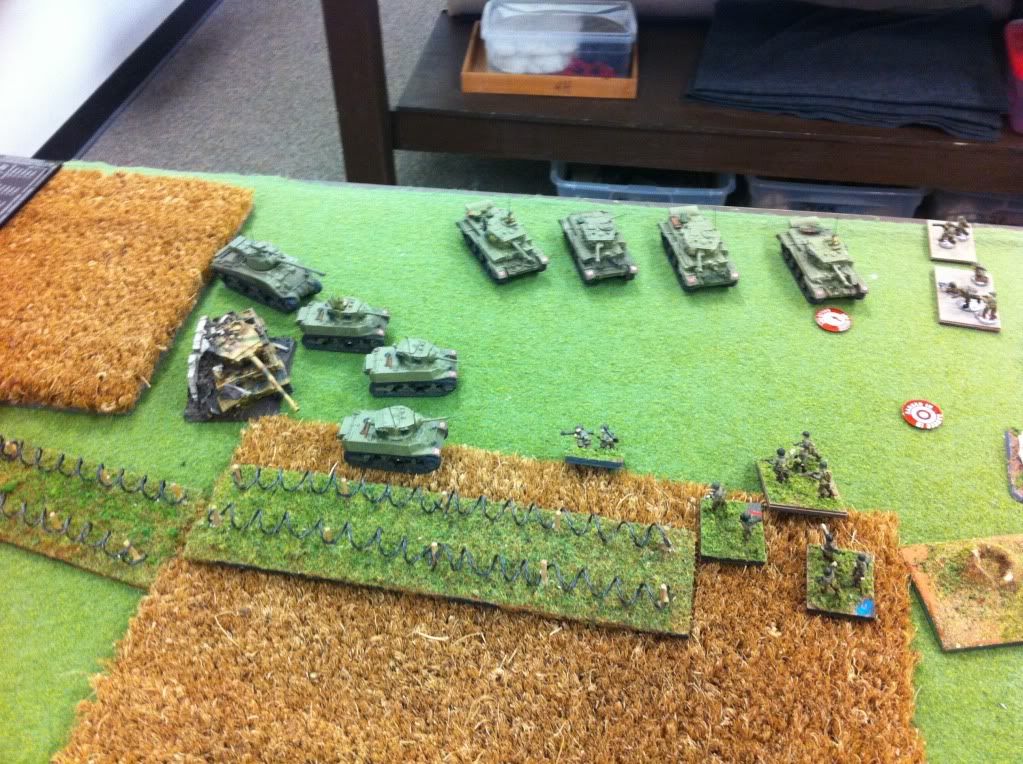
| Scott's Desert Rats: The train track embankment more or less splits the board for me, as we played it impassable to tanks. I put one CW squad on each side. Al's 91st Dismounted Cav: 155s and 105s split on each side of the embankment. Boots line up the board. | |
TURN 1
 |
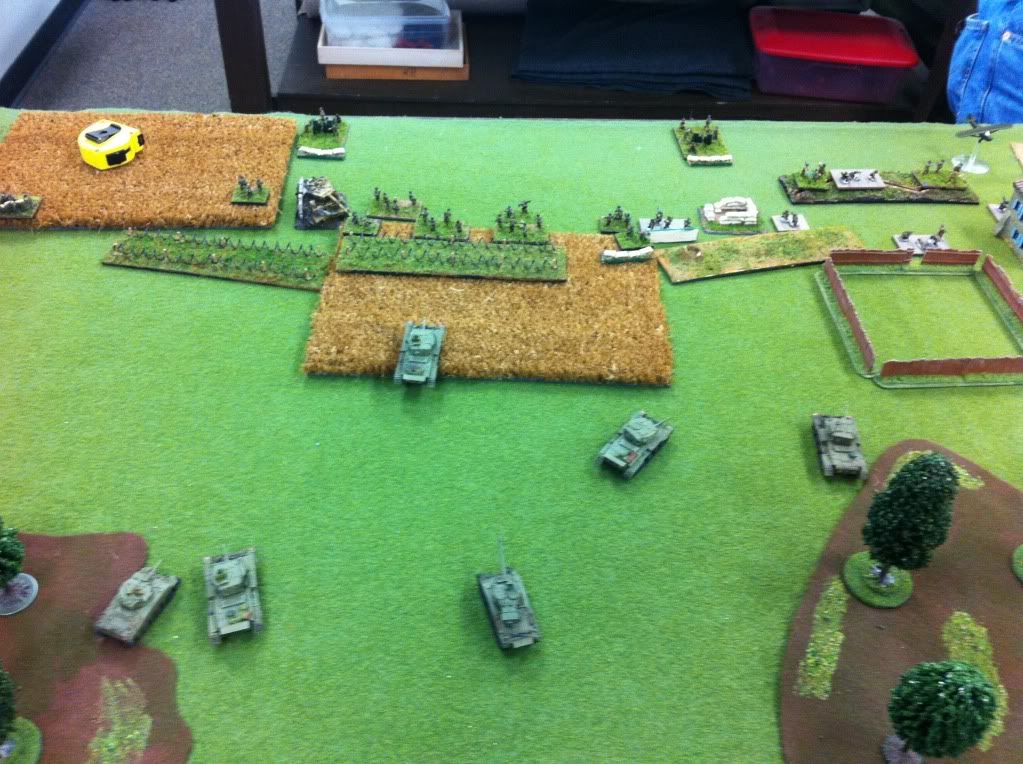
| Right flank Cromwells move up |
 |
| Left flank Cromwells move up |
| Scott's Desert Rats |
Al's 91st Dismounted Cav
|
| Scott's Desert Rats: Cromwells move up on both flanks. MG fire kills a single dismounted boots stand. Al's 91st Dismounted Cav: Arty funs all direct fire, as they did for most of the game. I never really gave Al more than one tank under the template, so I guess this was the best plan, but I did have a 3+/4+ save from them. 105s bail a firefly. | |
TURN 2
 |
| Firefly REALLY dosnt want to get back in! (CiC reroll) |
 |
| Cromwells take out two 105s |
 |
| Right flank Cromwells take out a single 155 |
 |
| 155s direct fire kill the right flank firefly |
Scott's Desert Rats
|
Al's 91st Dismounted Cav
|
| Scott's Desert Rats: Cromwells unload semi-indrect fire into gun teams. Kill two 105s, one 155, and a HMG nest. Al's 91st Dismounted Cav: 155s kill one firefly. | |
TURN 3
 |
| Rigth flank kills a second 155 |
 |
| Feeling confortable on this side of the barbed wire, some Cromwells move up to MG some infantry. |
Scott's Desert Rats
|
Al's 91st Dismounted Cav
|
| Scott's Desert Rats: Killed a single 155. A couple cromwells move into better MG positions. Al's 91st Dismounted Cav: Nothing of consequence. | |
TURN 4
Scott's Desert Rats
|
Al's 91st Dismounted Cav
|
| Scott's Desert Rats: Cromwells kill another 105. Al's 91st Dismounted Cav: Nothing of consequence | |
TURN 5
 |
| Al's reserve's rolling in |
Scott's Desert Rats
|
Al's 91st Dismounted Cav
|
| Scott's Desert Rats: Despite 3 main gun hits on the remaining 155s, they all save! Al's 91st Dismounted Cav: Short div cav comes in on the right flank and takes over a farmhouse. | |
TURN 6
 |
| After assaulting and breaking off, the Cromwells move back to the edge |
|
| Maybe this isn't such a great idea.... |
|
| Al's chem mortars and one short engineer squad come in on this corner |
Scott's Desert Rats
|
Al's 91st Dismounted Cav
|
| Scott's Desert Rats: Cromwells assault and kill off the last 105, although the command and staff teams survive, being far away from the action. The Cromwells breakthrough into the large boots squad, kill a single stand, and end up breaking off after one round. Right flank Cromwells assault the bazookas in the building out of boredom, and are quickly taught their lesson. Al's 91st Dismounted Cav: Some of Al's stuff came in on the left flank corner, including a small platoon of Engineers, but they failed the tank terror to assault the flanks of Cromwells. | |
TURN 7
 |
| Stuarts being an awesome assault unit apparently. |
Scott's Desert Rats
|
Al's 91st Dismounted Cav
|
| Scott's Desert Rats: Stuarts assault small engineer boots squad, wiping them out, and then breaking through to the chem mortars. Go staurts. Al's 91st Dismounted Cav: | |
TURN 8
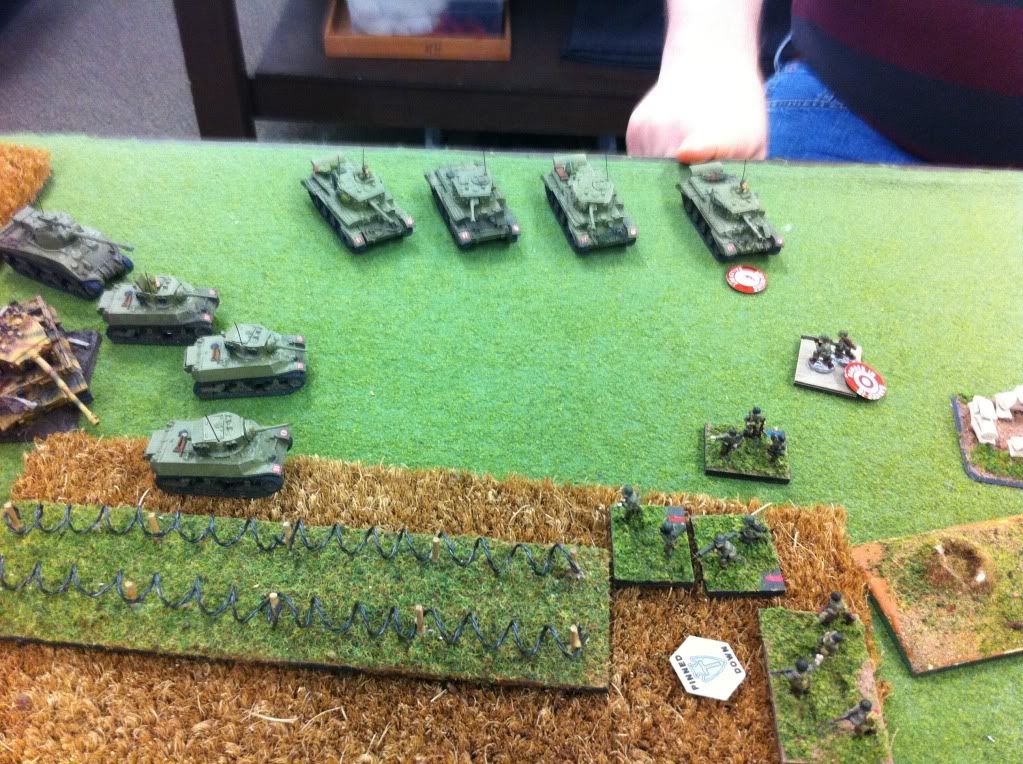 |
| Wall of steel surrounding the objective |
 |
| Remains of large boots squad move up and attempt to pierce through the wall of steel with no effect. |
Scott's Desert Rats
|
Al's 91st Dismounted Cav
|
| Scott's Desert Rats: Cromwells abd stuarts shoot and assault a couple wounds on the large boots squad pushing them back from the objective. Al's 91st Dismounted Cav: Al moves up and attempts to shoot and assault me off of the objective, but is unable to score any kills. | |
| 6-1 victory for the desert rats. |
Generated by WWPD's BatRepper Software.
No comments:
Post a Comment